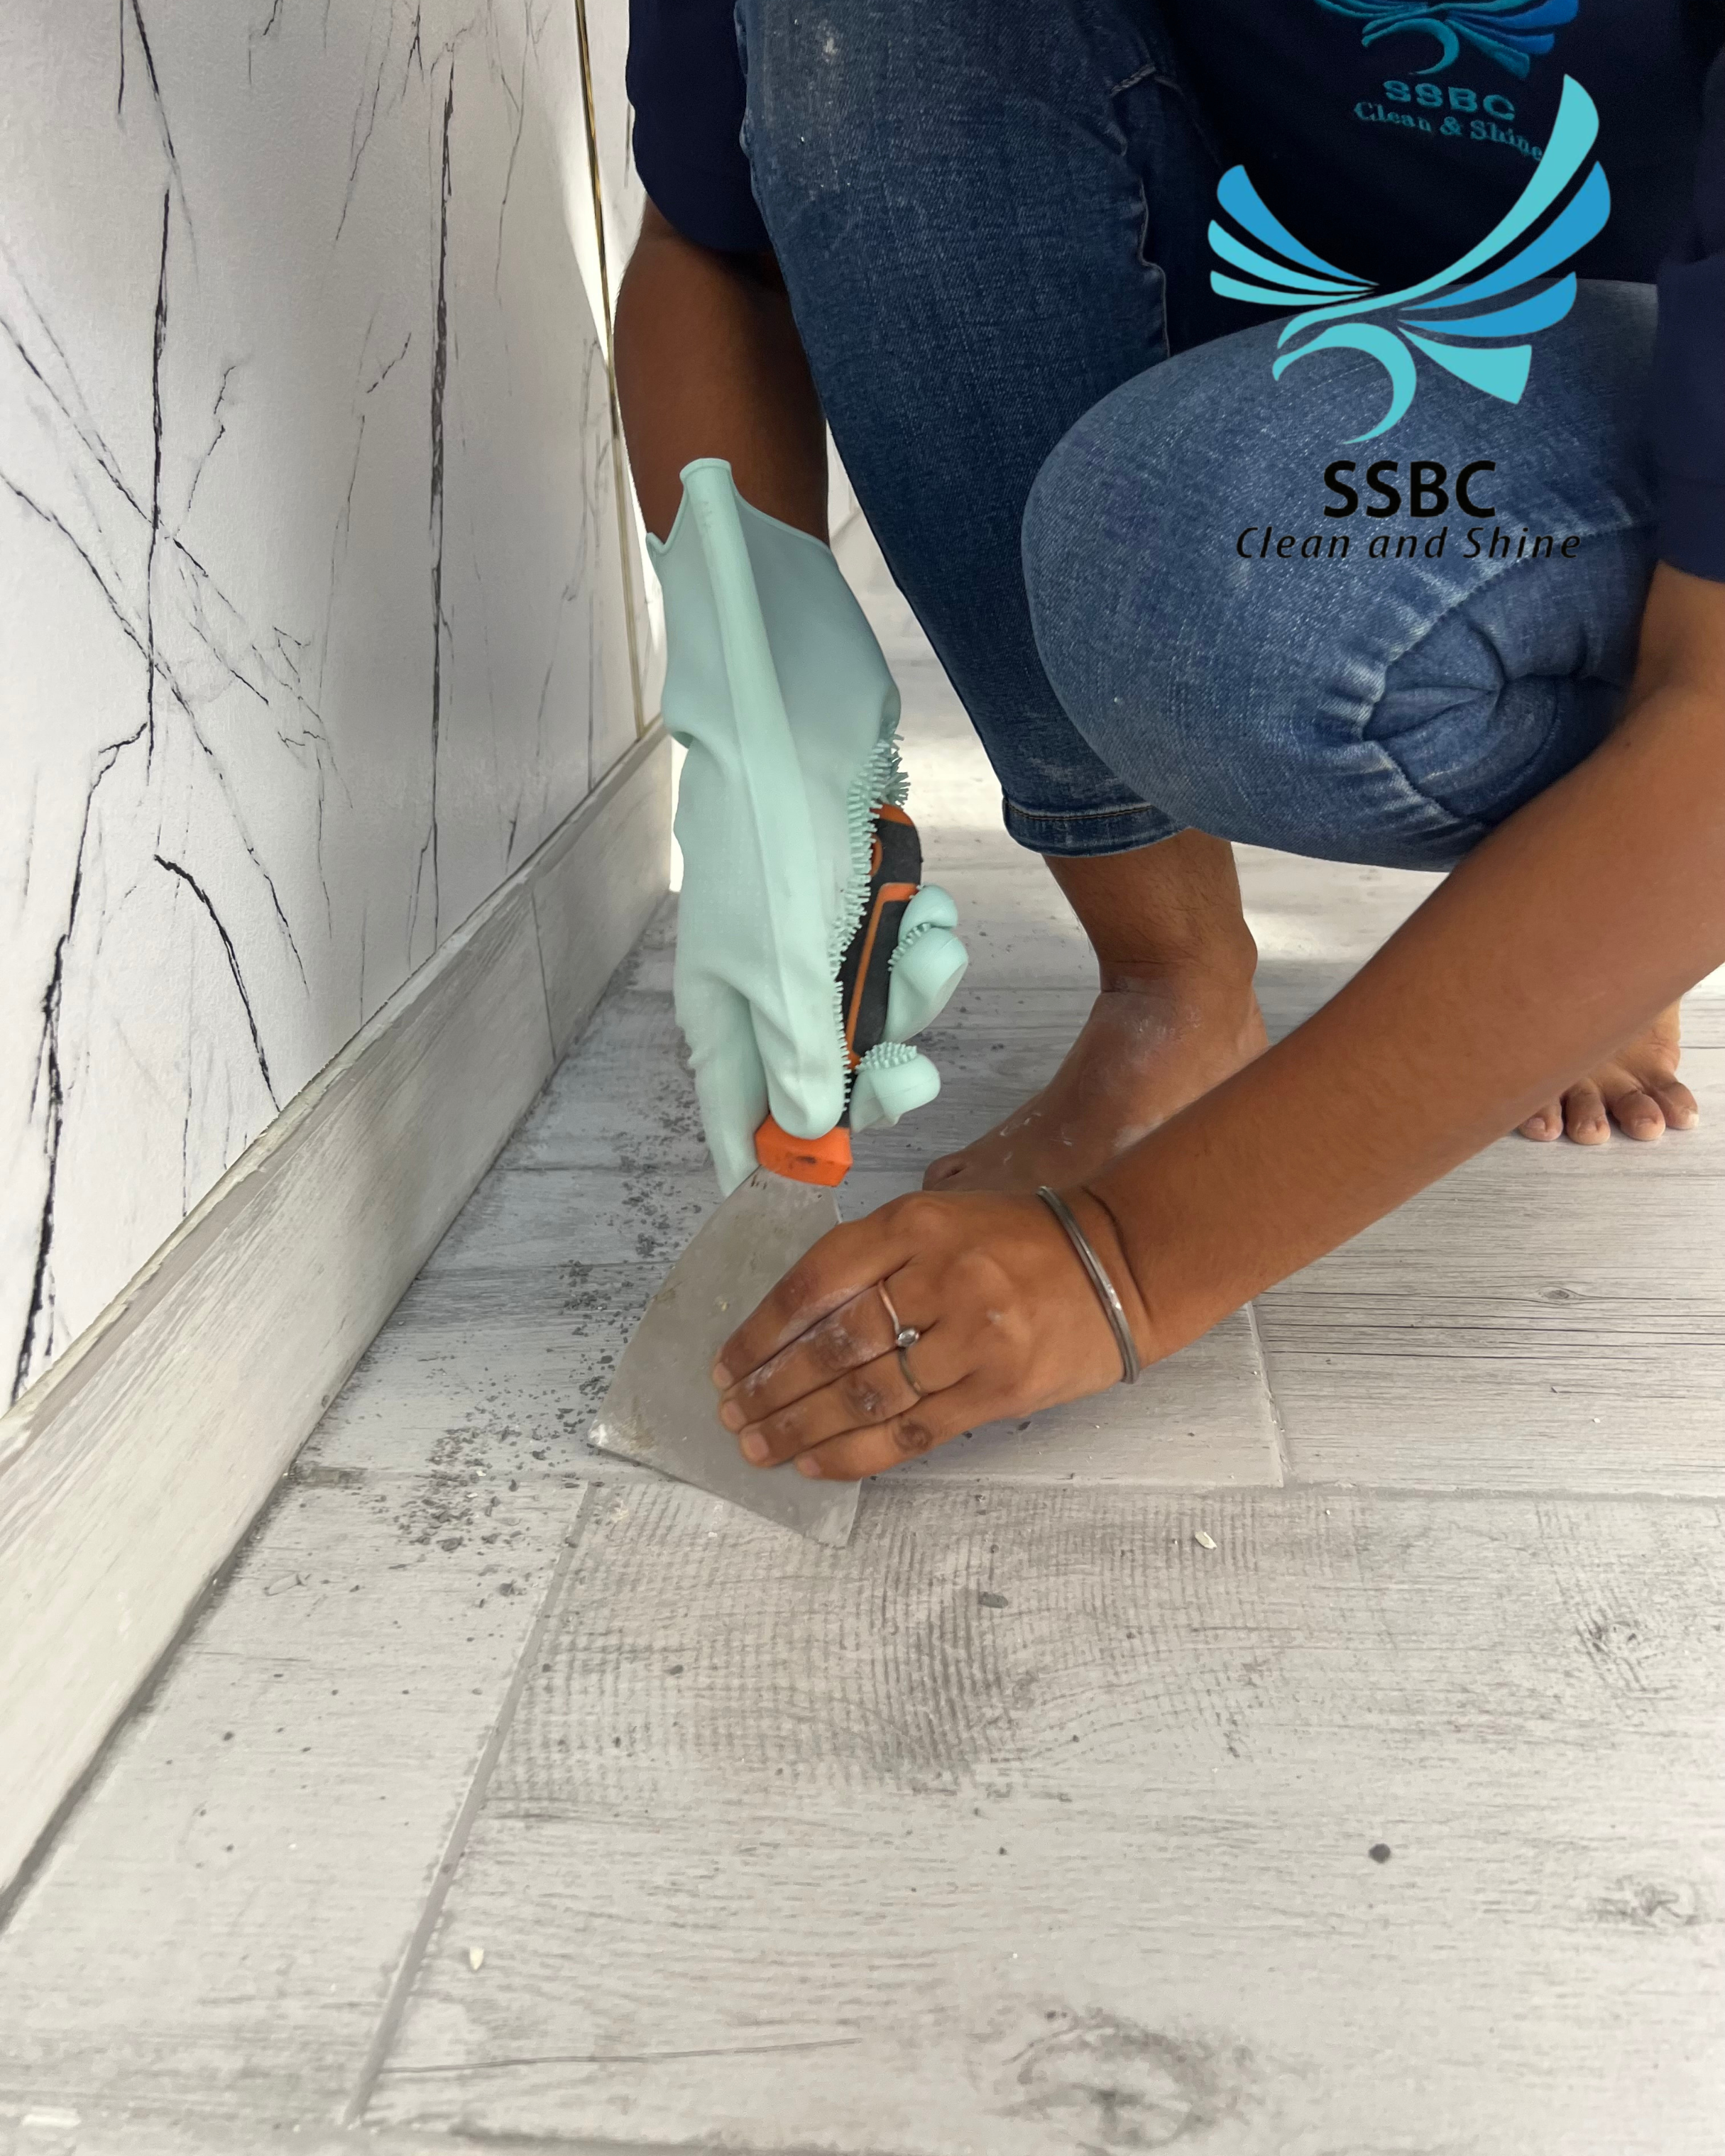
Tile and grout cleaning typically involves several steps to ensure thorough cleaning and restoration of the surfaces.
Here’s a basic procedure you can follow:
- Gather Materials:
– Rubber gloves
– Safety goggles
– Broom and dustpan
– Vacuum cleaner
– Grout and tile cleaner
– Scrub brush or toothbrush
– Bucket
– Grout sealer (optional) - Preparation:
– Ensure good ventilation in the area.
– Remove any loose debris by sweeping or vacuuming the floor. - Mix Cleaning Solution:
– Follow the manufacturer’s instructions on your chosen grout and tile cleaner.
– Wear appropriate protective gear continuously. - Apply the Solution:
– Working in small sections, apply the cleaner to the tile and grout lines accordingly. - Scrub:
– To soften the grout we scrub the entire floor by scrubbing machine. Use a scrub brush, steel scraper or toothbrush to agitate the solution on the grout lines. Scrub vigorously to remove stains and grime. - Let it Sit:
– Allow the cleaner to sit for the recommended dwell time, usually around 5-10 minutes. - Scrub Again:
– Give the grout lines another scrubbing to loosen any remaining dirt. - Rinse:
– Use a clean, damp cloth or mop to rinse the tiles and grout. Make sure to remove all cleaning residue. - Inspect:
– Check for any remaining stains or spots that need extra attention. - Repeat If Necessary:
– For stubborn stains, you may need to repeat the cleaning process. - Sealing (Optional):
– If desired, apply a grout sealer to protect the grout from future staining. Follow the manufacturer’s instructions for application. - Final Rinse:
– Rinse the area one more time to remove any sealer residue. - Dry:
– Allow the tiles and grout to air dry or use a clean, dry cloth to speed up the drying process. - Maintenance:
– Regularly clean and maintain your tile and grout to prevent excessive dirt buildup.
The specific cleaning products and methods can vary depending on the type of tile and grout you have, so we always check and test a small, inconspicuous area before proceeding with the full cleaning.

